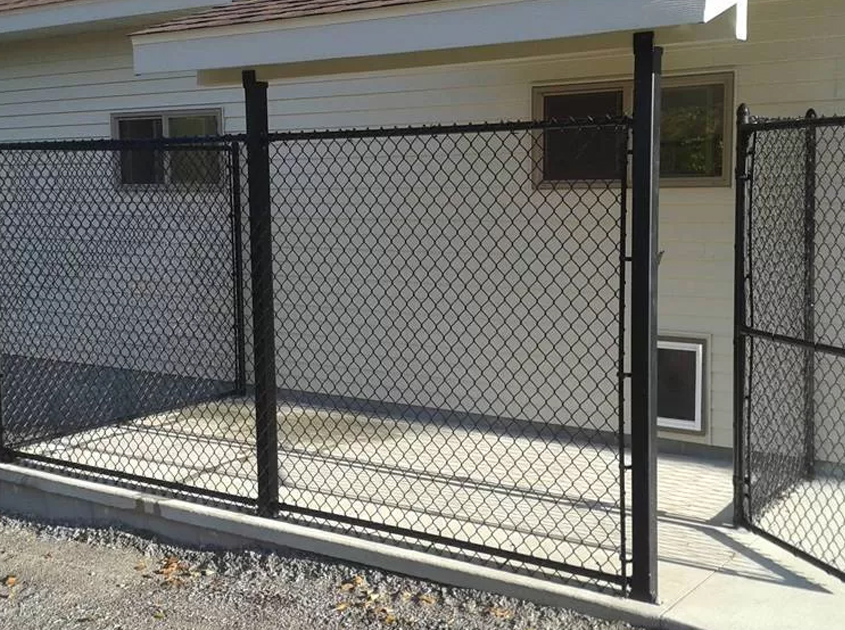
How to Repair a Chain Link Fence?
Chain link fences are durable and versatile, but over time, they may require repairs due to damage from weather, accidents, or normal wear and tear. Fortunately, repairing a chain link fence is a straightforward process that can be completed with basic tools and materials. In this guide, we'll walk you through the steps to repair a chain link fence effectively.
Common Chain Link Fence Issues
Chain link fences can develop different issues. Bent top rails often result from fallen tree limbs or people climbing over the fence. Posts can become damaged or unstable due to weather conditions or impact. The chain link fabric itself may tear or become loose over time. Additionally, ground-level issues like gaps at the bottom of the fence or frost heave can compromise its effectiveness.
1. Assess the Damage
Before starting any repairs, carefully inspect the fence to assess the extent of the damage. Look for bent or broken posts, damaged mesh, loose or missing fittings, and any other issues that need attention. Identifying the specific areas requiring repair will help you plan and prioritize the necessary tasks.
2. Gather Materials and Tools
Once you've assessed the damage, gather the materials and tools you'll need for the repairs. This may include replacement chain link mesh, fence ties, tension bands, tension bars, fence posts, concrete mix (if replacing posts), wire cutters, pliers, a socket wrench, and gloves for safety.
3. Replace Damaged Mesh
If the chain link mesh is damaged or torn, you'll need to replace the affected sections. Use wire cutters to carefully remove the damaged mesh, taking care to avoid further damage to adjacent sections. Install the new mesh by attaching it to the existing fence framework using fence ties or tension bands.
4. Repair Bent or Broken Posts
If fence posts are bent or broken, they will need to be repaired or replaced. For minor bends, you may be able to straighten the posts using a socket wrench or a fence post puller. For severely damaged or broken posts, you'll need to remove them and install new ones. Use a post hole digger to remove the old post, pour new concrete into the hole, and set the new post in place. Allow the concrete to cure before attaching the fence mesh.
5. Tighten Tension Wire
Chain link fences rely on tension wire to keep the mesh taut and prevent sagging. If the fence mesh is sagging or loose, you'll need to tighten the tension wire. Use a tension bar and tension bands to adjust the tension wire as needed, ensuring that the mesh is evenly tensioned along the entire length of the fence.
6. Secure Loose Fittings
Inspect the fittings and hardware on the fence, such as tension bands, rail end cups, and brace bands, for any signs of looseness or damage. Tighten or replace any loose fittings to ensure the stability and integrity of the fence structure. Use pliers or a socket wrench to tighten bolts and screws securely.
7. Add Protective Coating (Optional)
If desired, you can apply a protective coating to the repaired sections of the fence to enhance durability and appearance. This may involve applying a rust-inhibiting paint or a vinyl coating to the fence posts and fittings. Be sure to allow adequate drying time before reassembling the fence.
8. Test and Inspect
Once the repairs are complete, test the fence to ensure that it is stable, secure, and properly tensioned. Walk along the length of the fence, checking for any areas of weakness or instability. Make any necessary adjustments or additional repairs as needed to ensure the fence is in optimal condition.
Conclusion
Repairing a chain link fence is a manageable task that can be completed with the right tools, materials, and know-how. By following these steps and taking care to address any damage promptly, you can extend the lifespan of your chain link fence and maintain its functionality and appearance for years to come.
Remember to prioritize safety when undertaking fence repairs, wearing appropriate protective gear and exercising caution when working with tools and materials.
To see all of our wire mesh options online, click here.
-
 Best Chain Link Fence for Security Applications Feb 10, 2026
 Best Welded Wire Mesh for South American Markets Feb 03, 2026
 Why Galvanized Wire Mesh Is Popular in South America Jan 26, 2026
 How to Check the Quality of Welded Wire Mesh Jan 16, 2026

- Tel.: +86 311 83077076
- E-mail: sales@qunkunmetal.com
- Skype: qunkunsales01
- WhatsApp: 8618032412189
- Add.: No.69 The Filter Industrial Part of Anping, Hebei, China


