Small Coil Wire Fence Installation Guide: Detailed Steps from Prep to Finish
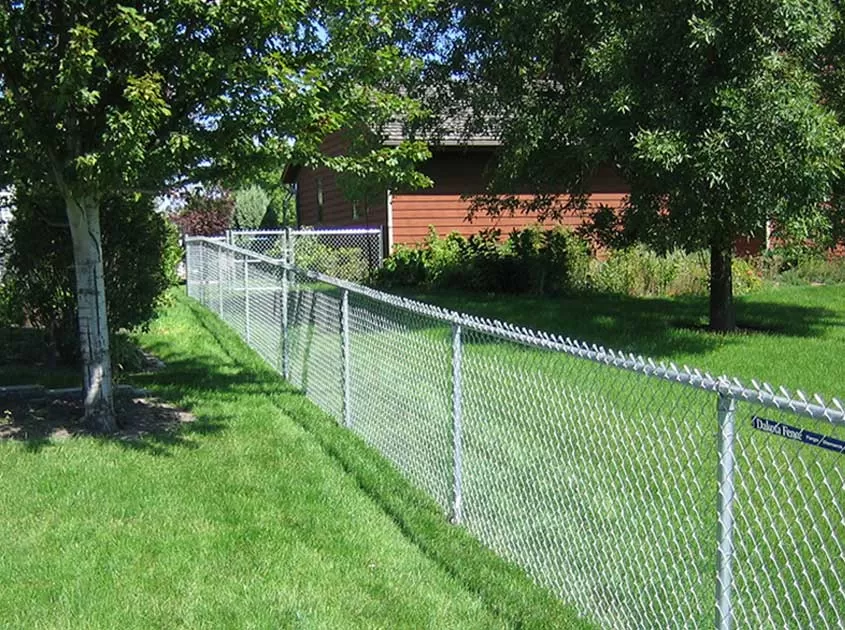
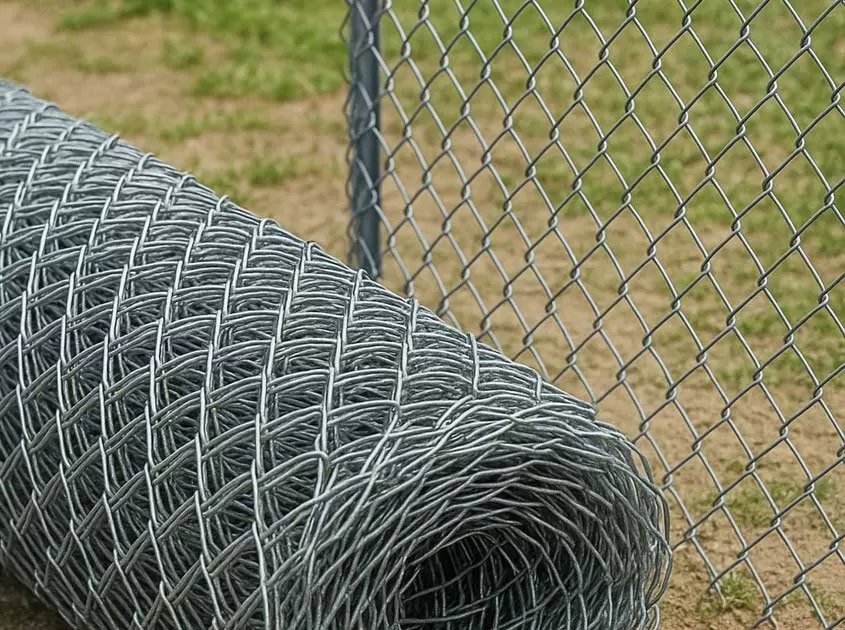
Installing a small coil wire fence is a versatile and cost-effective solution for property delineation, garden protection, and various other purposes. Whether you're a DIY enthusiast or a property owner looking to enhance your landscape, this step-by-step guide will walk you through the process of installing a small coil wire fence. From preparation to finishing touches, we'll cover all the essential details to ensure a successful installation.
Planning and Preparation
Determine Fence Layout: Mark the perimeter where you intend to install the fence. Consider any boundaries, corners, or specific areas you want to enclose.
Gather Materials: Procure the necessary materials, including coil wire fencing, fence posts, concrete mix, post hole digger, wire clips, tension bands, and gate hardware if needed.
Check Local Regulations: Verify any local zoning or homeowners' association regulations pertaining to fence height, placement, and style.
Setting Fence Posts
Digging Post Holes: Use a post hole digger to create holes for your fence posts. The depth should be approximately one-third of the length of the posts.
Placing Posts: Insert the fence posts into the holes and ensure they are level. Fill the holes with concrete mix and allow it to set as per the manufacturer's instructions.
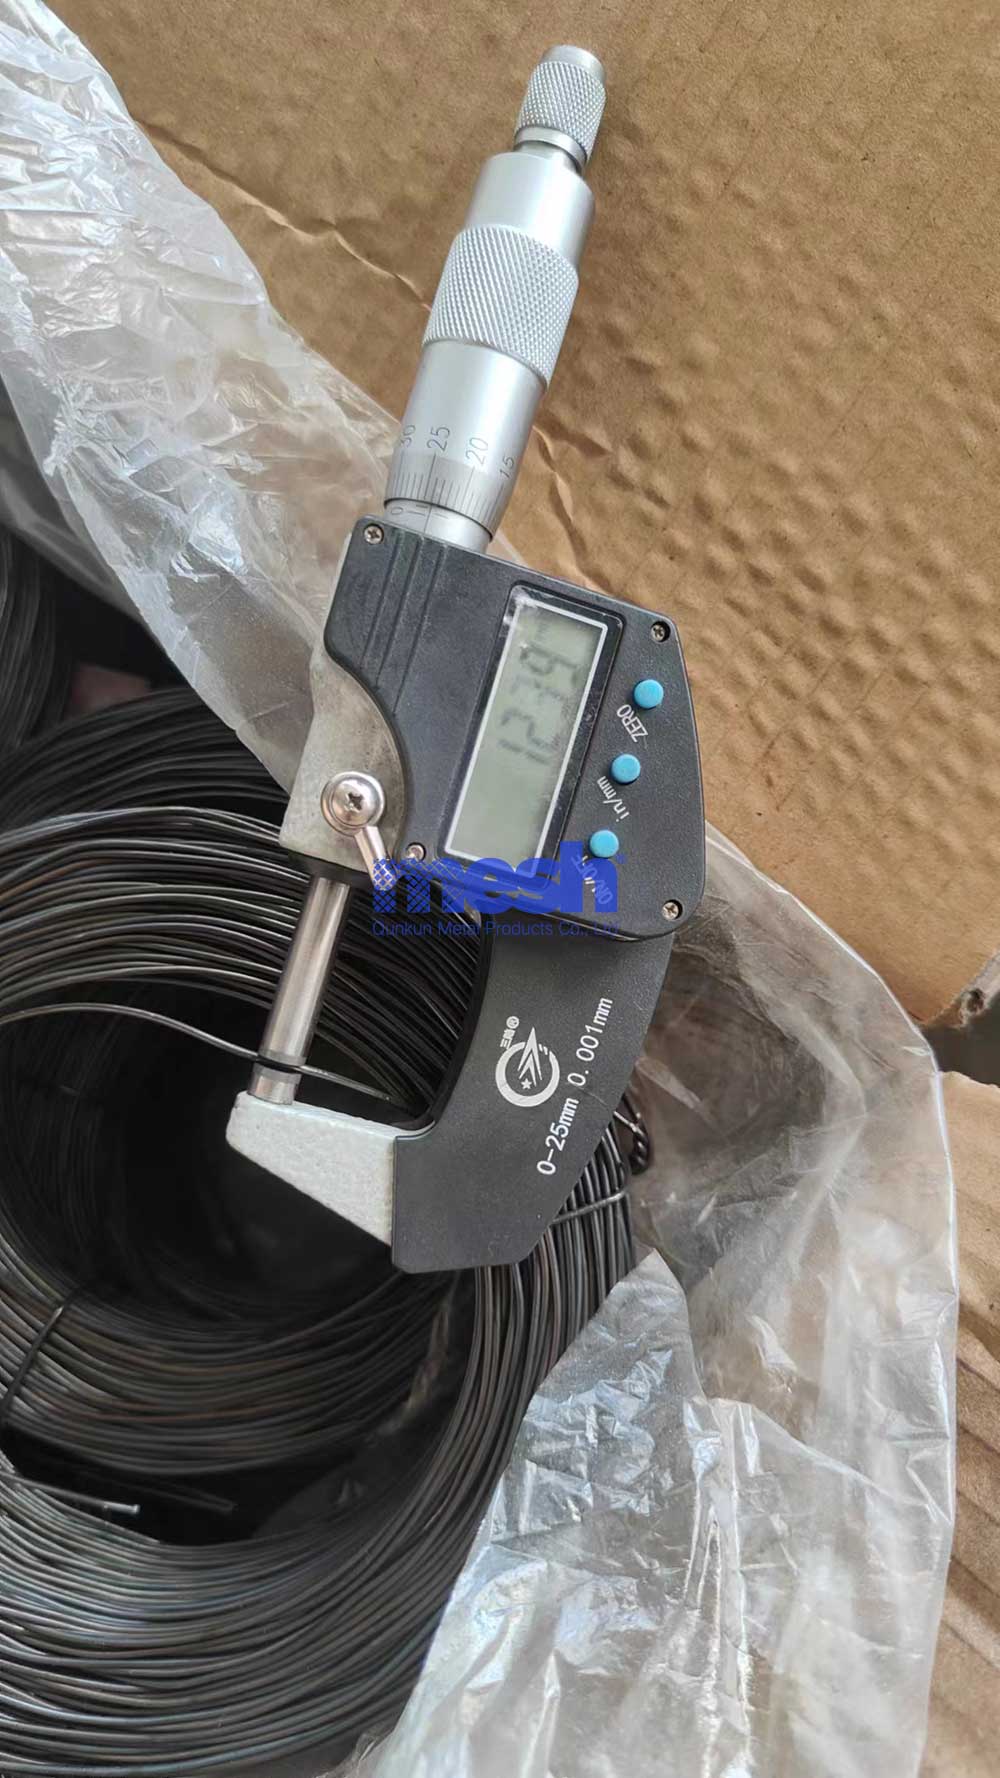
Installing a small coil wire fence is a manageable DIY project that offers both practicality and aesthetics to your property. By following this detailed guide, from planning and preparation to the finishing touches, you can create a sturdy and visually appealing fence that meets your needs. Regular maintenance will ensure the longevity of your fence, enhancing your property's security and charm for years to come.

- Tel.: +86 311 83077076
- E-mail: sales@qunkunmetal.com
- Skype: qunkunsales01
- WhatsApp: 8618032412189
- Add.: No.69 The Filter Industrial Part of Anping, Hebei, China


